Hard, glass-like fired surface over cast iron or steel. Chemically profiled — porcelain follows the etch path.
Recommended Prep
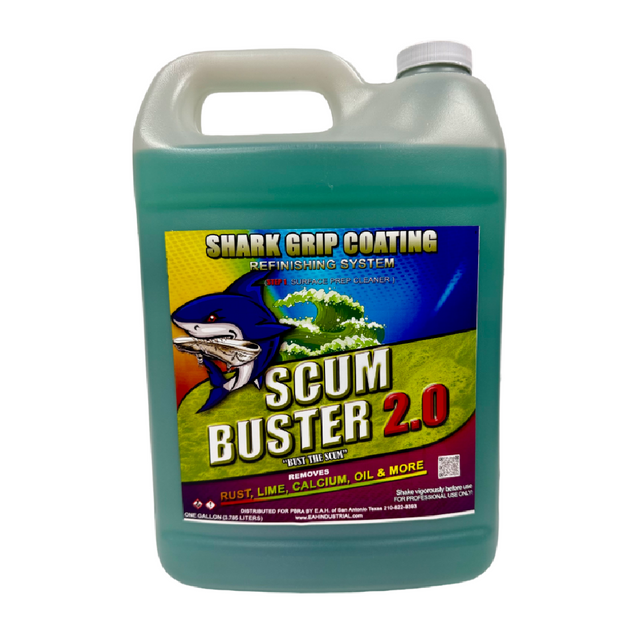
- ScumBuster pre-clean — remove soap scum, oils, and contamination
- Safe-Etch Gel — chemically profile the glaze, dwell per TDS
- Rinse and dry completely
- SWAT final wipe before bonding
Approved Bonding Method
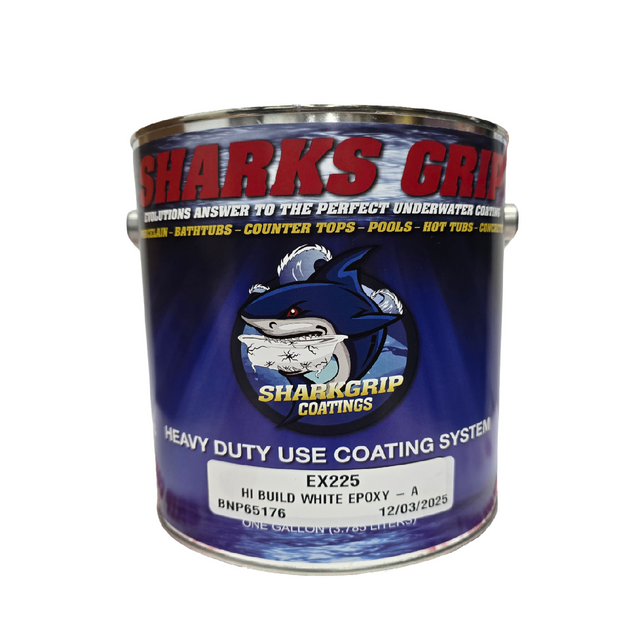
 Power Bond Wipe-On Primer
VIEW →
Power Bond Wipe-On Primer
VIEW →
Common Failures
- Peeling at heel-strike zones from incomplete etch
- Fisheyes from residue or silicone left behind
- Edge lift at caulk lines coated over old silicone
Important Warnings
- Verify a uniform dull profile across the entire surface before bonding — re-etch any shiny spots
- Never skip the SWAT final wipe